Overview: Interacting with Data Points
The Search Map is not only a visualization tool—it also allows you to interact directly with data points such as Targets, Reports, Layers, and RFIs.
By simply clicking on these points on the map, you can directly access detailed information, view coordinates, and, when needed, navigate into related modules for deeper analysis.
These interactions are designed to give you details on demand, enabling you to drill into specific objects without leaving the map.
Key Features
- Target Dialog – Displays detailed Target information, including metadata and coordinates, with quick links to Target Manager and Workspace associated with the specific data .
- Coordinates View – Shows the exact latitude and longitude of a selected Target for precise location tracking and reporting.
- Selection Dialog – Appears when multiple data points overlap with each other. Allows you to switch between tabs for Targets, Reports, and Layers to select which details to view.
When to Use Interactions
Use data point interactions when you need to:
- Confirm the identity and metadata of a Target, Report, Layer, or RFI.
- Resolve overlaps by using the Selection dialog to identify which data point you want to explore.
- Record or share exact coordinates for collaboration or reporting.
- Move seamlessly from situational awareness to detailed analysis by opening related modules.
Viewing Details of Individual Data Types
In this section, you will learn how to view details of a data type.
Pre-requisites
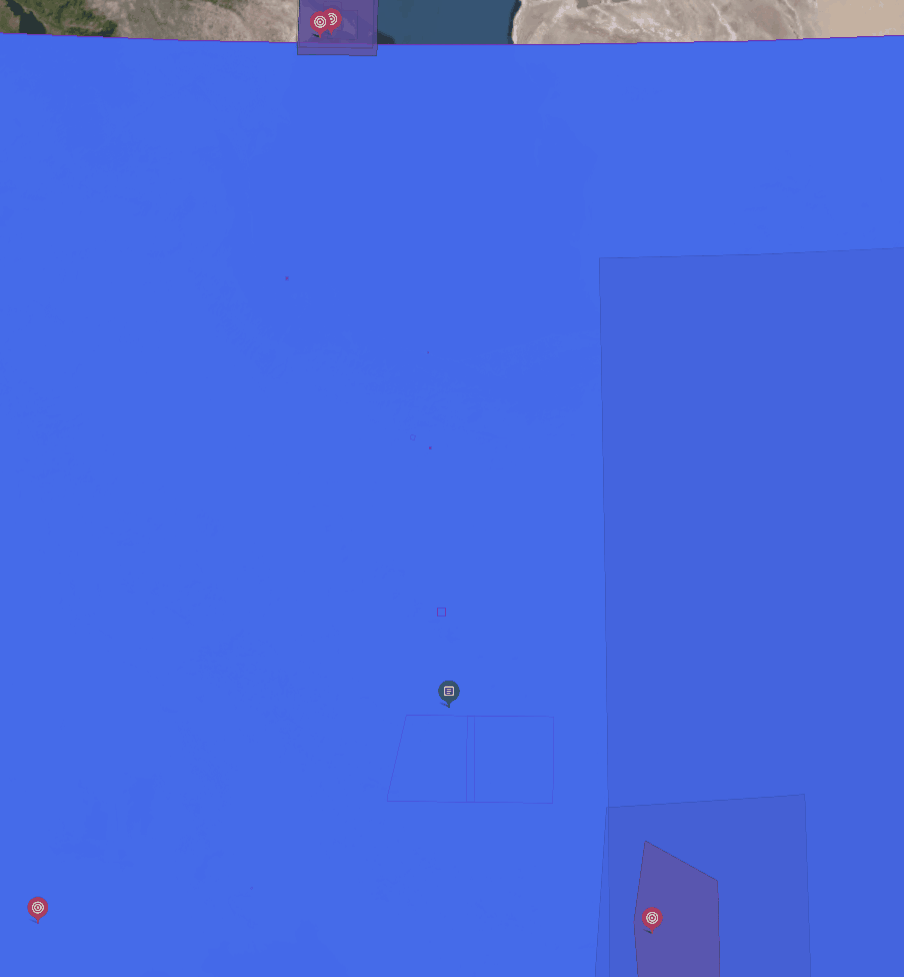
- Simply turn on the visibility of individual or all the data types on the map.
Layer
-
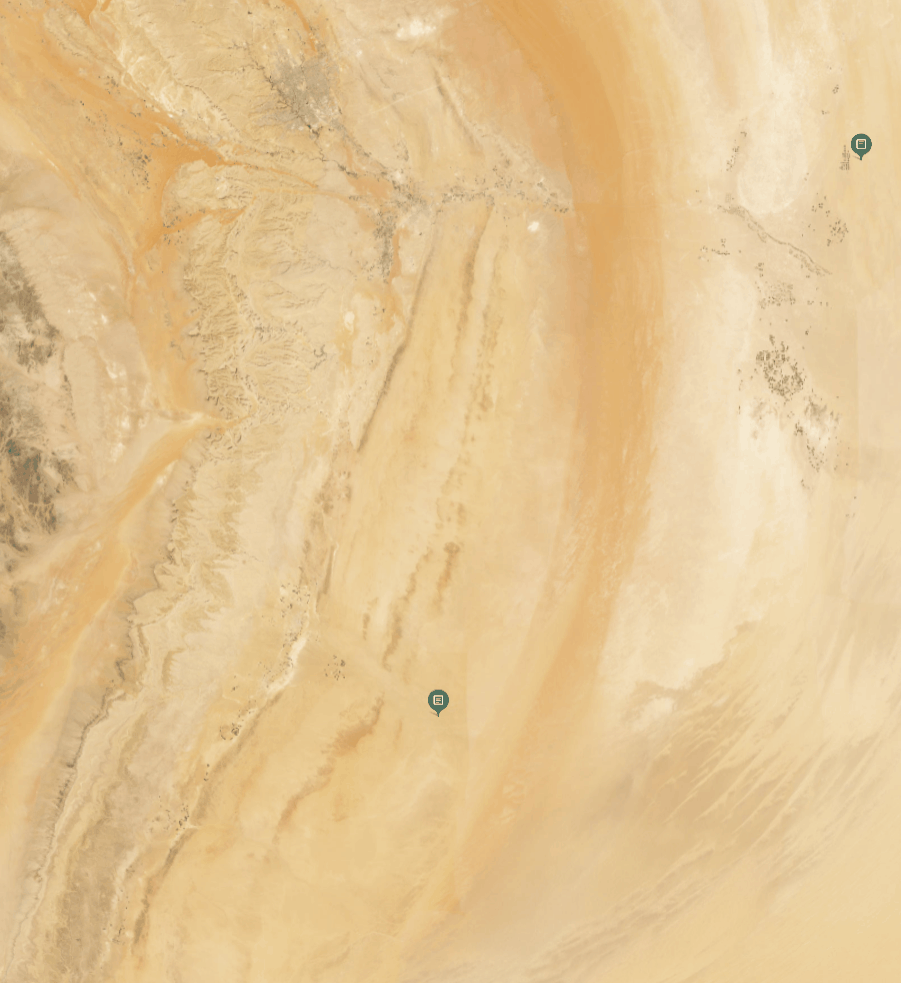
Click a Layer data type on the map.
The Layer dialog box is displayed.
-
In the Layer dialog box, do the following:
- Click the View button to view the layer in the Explore module.
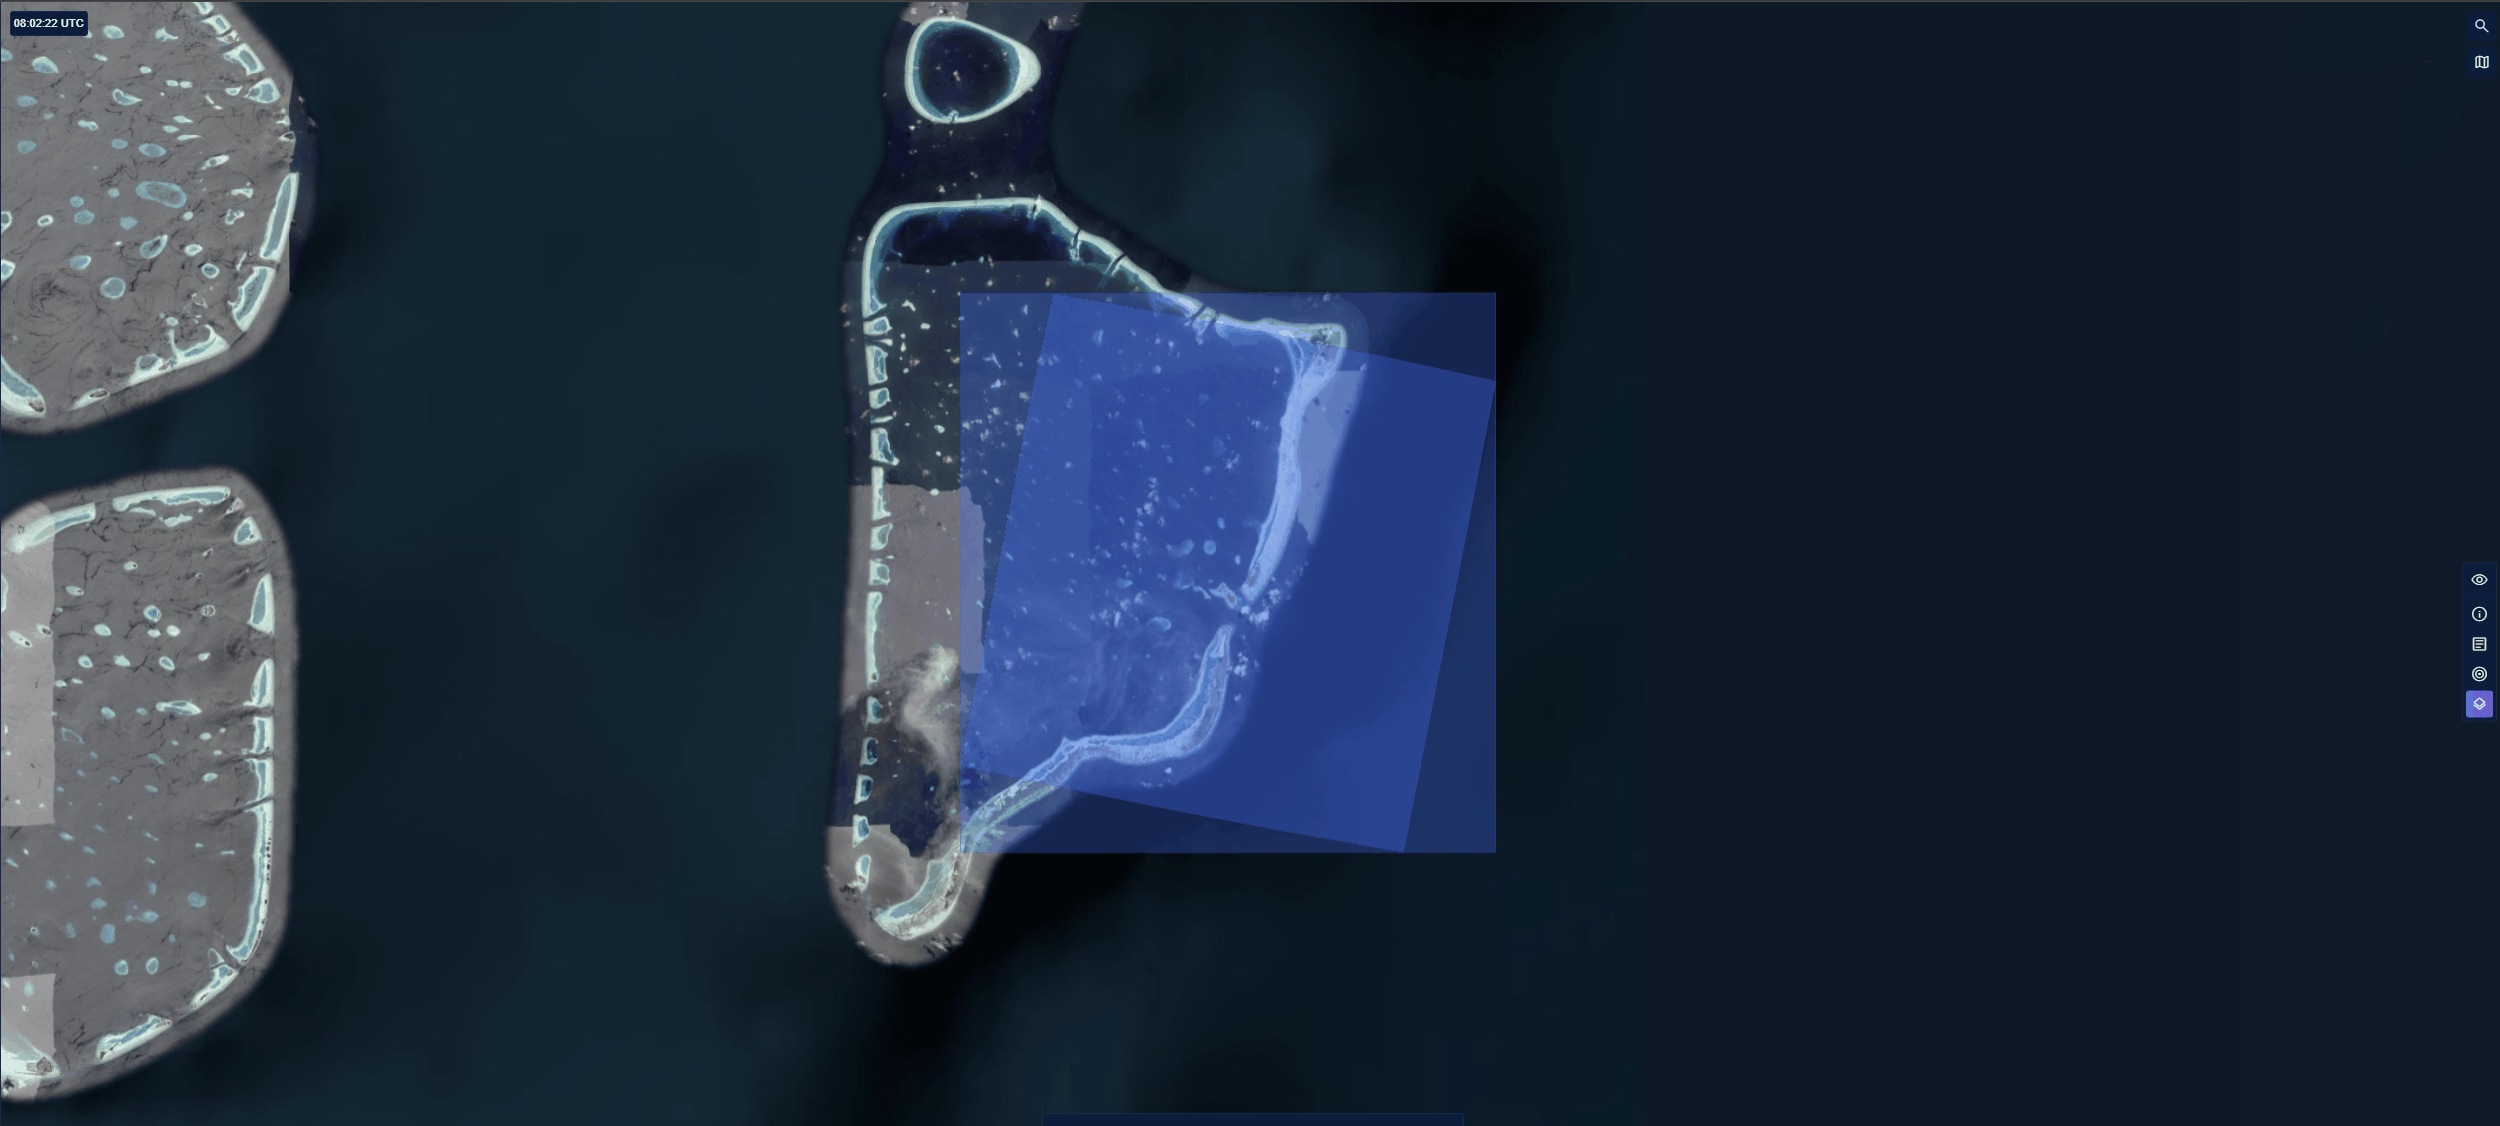
- Click the Perspective View button to view the layer in perspective view.
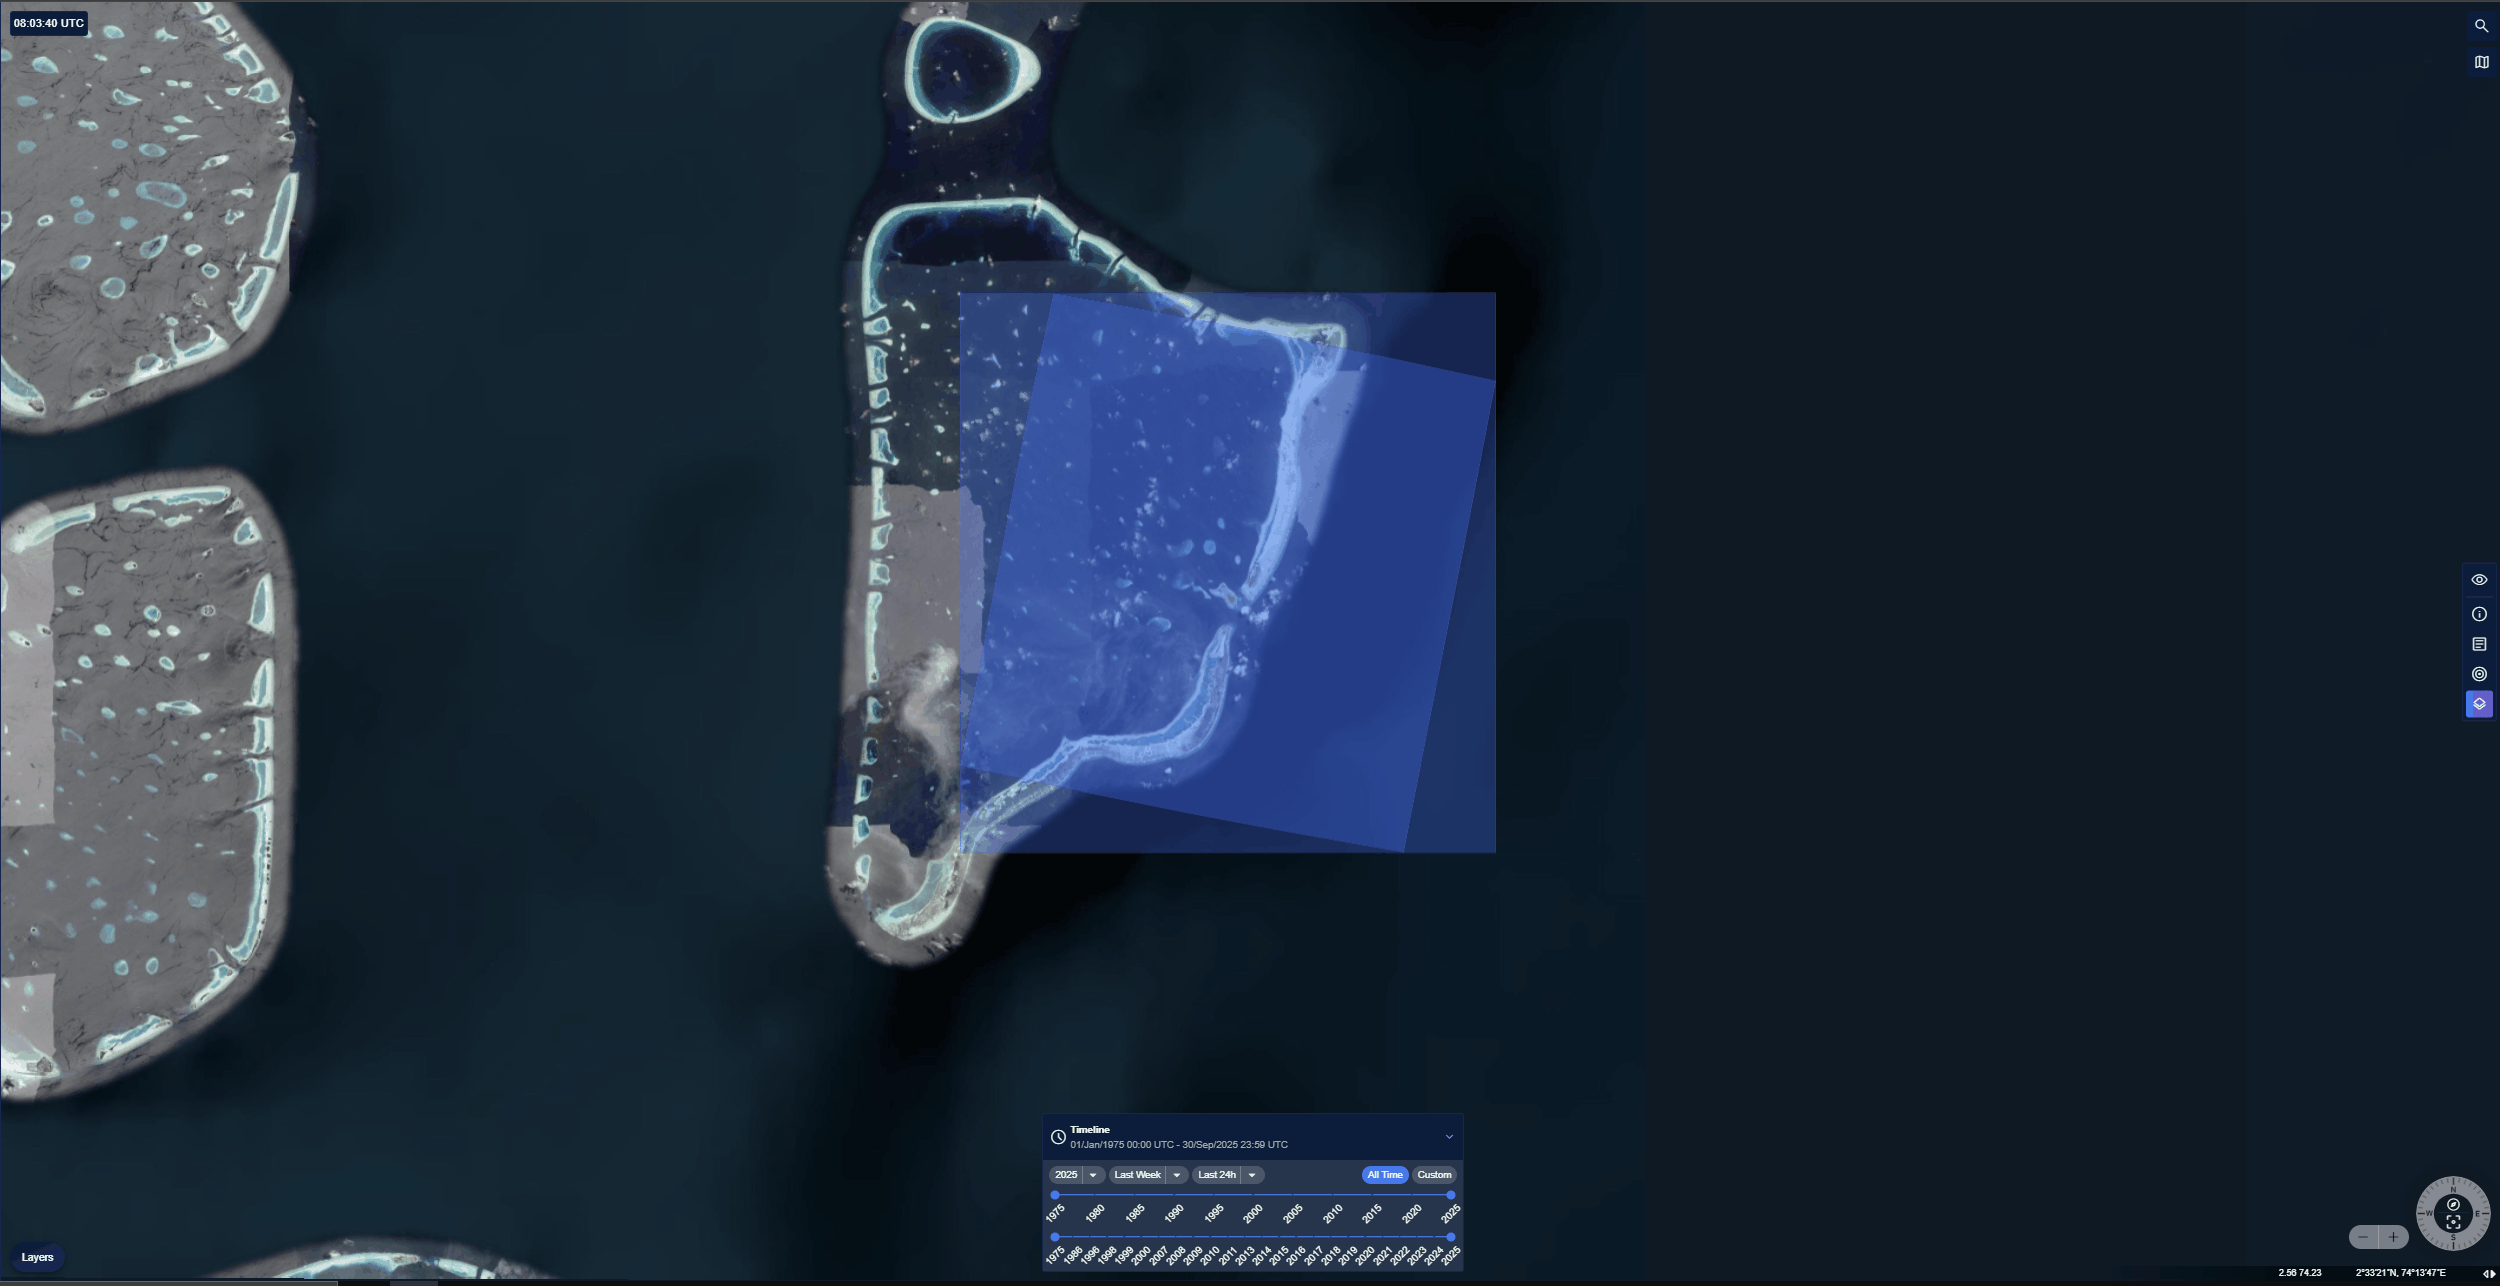
- View the coordinates of the layer.
Target
-
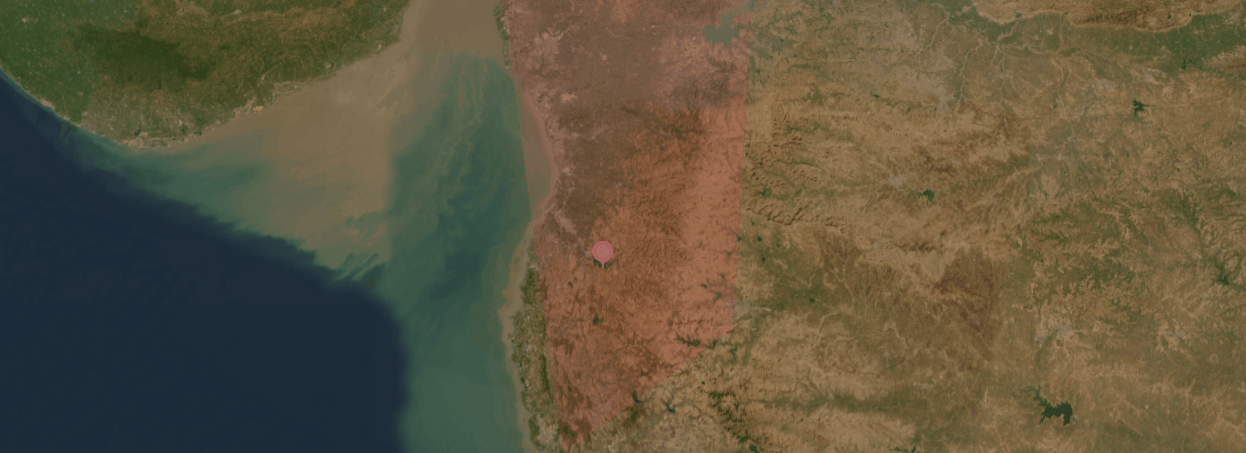
Click a Target data type on the map.
The Target dialog box is displayed.
-
On the Layer dialog box, do the following:
- Click the Manage button to view the target in the Target Manager module.
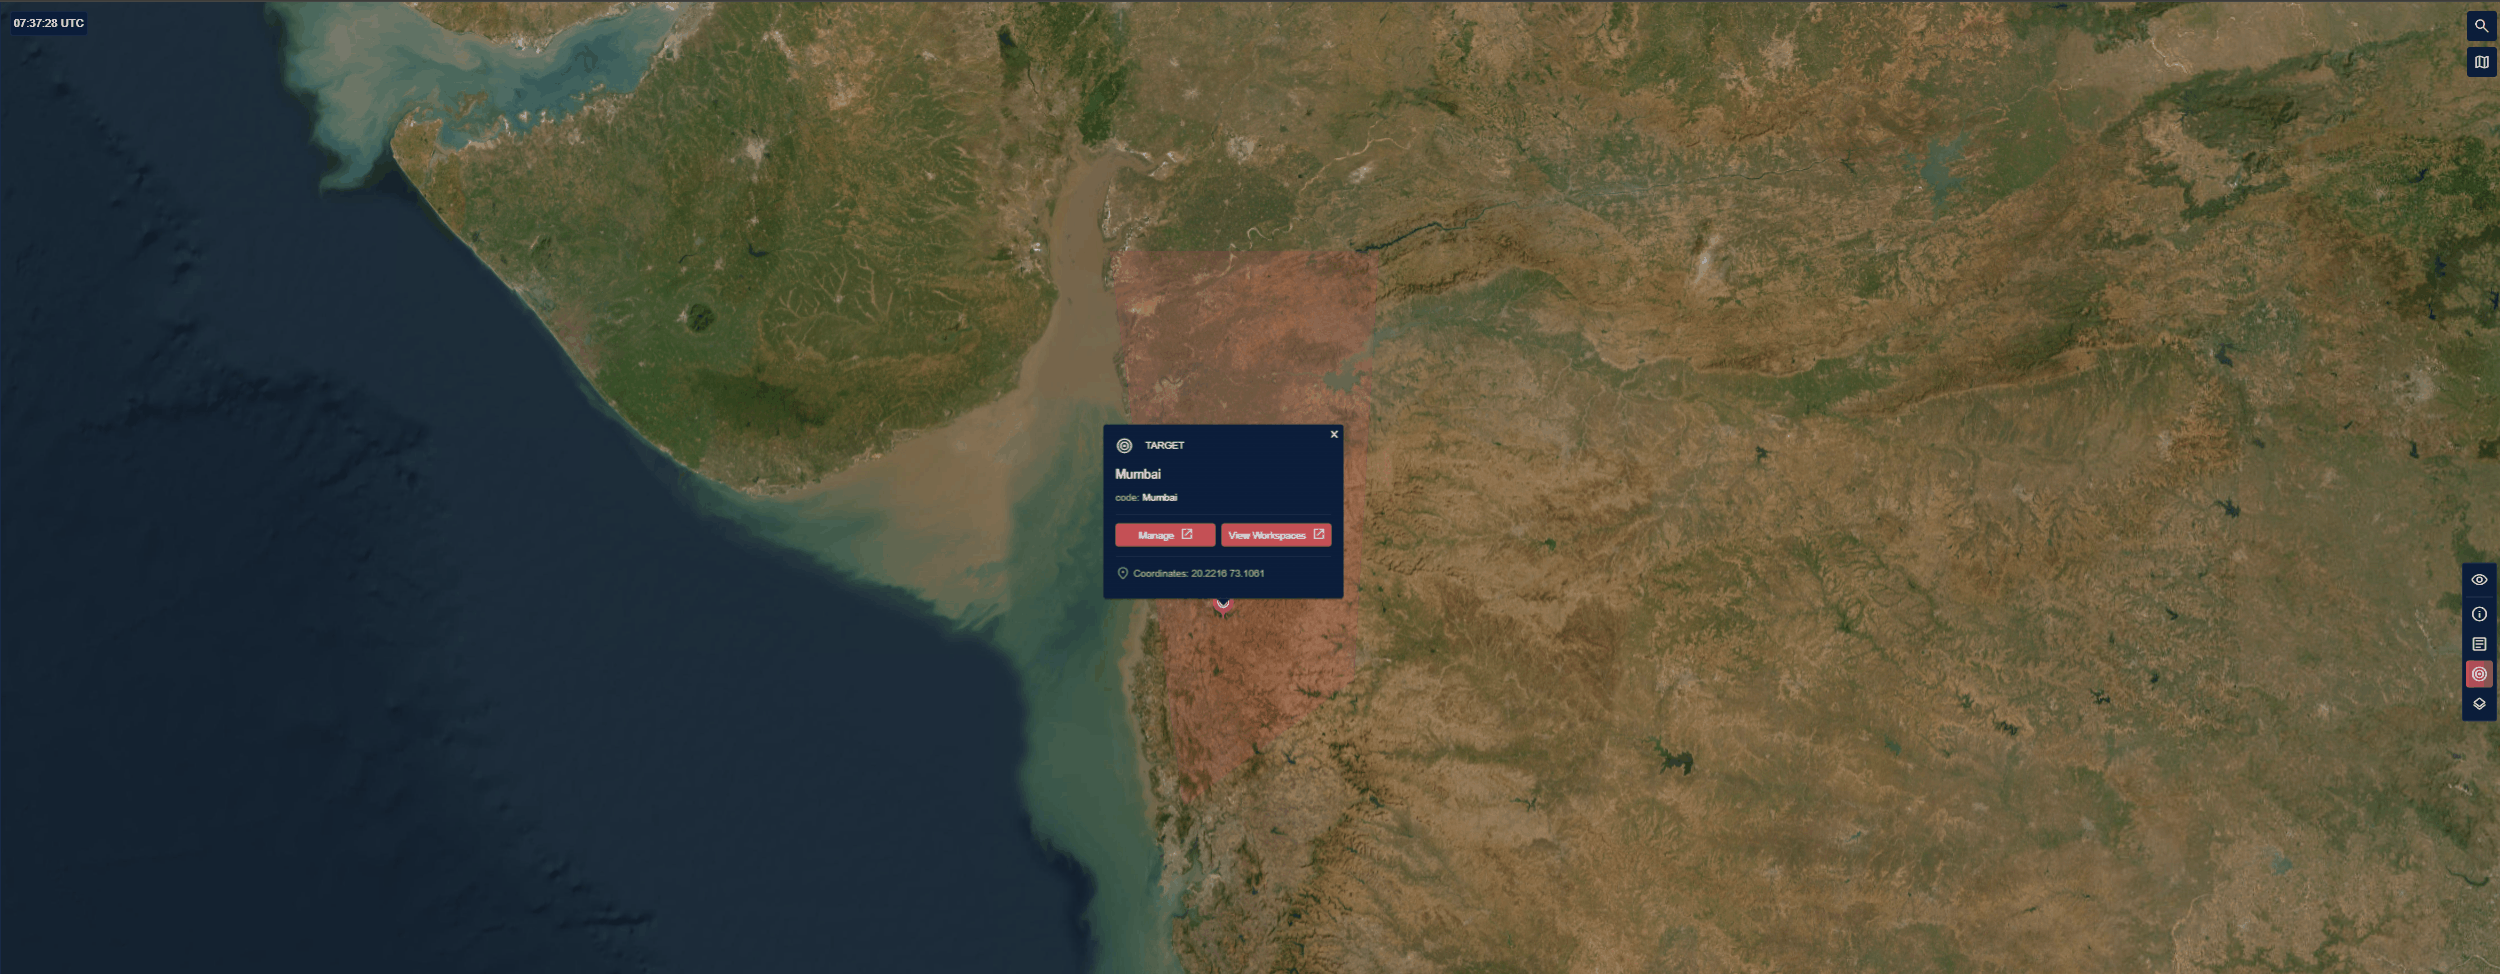
- Click the View Workspaces button to access the Workspaces module. You can select the target when creating a new workspace.
- View the coordinates of the layer.
Reports
-
Click a Reports data type on the map.
The Layer dialog box is displayed.
-
On the Layer dialog box, do the following:
- Click the Preview button to view the report in a new dialog box.
- View the coordinates of the layer.
RFIs
-
Click a Layer data type on the map.
The Layer dialog box is displayed.
-
On the Layer dialog box, do the following:
- Click the View RFI button to view the RFI in the RFI Management module
- View the coordinates of the layer.
Viewing Details of All Data Types
When multiple data types (such as a Target, Report, and Layer) overlap on the same map location, then you can view details of these data types in the Selection dialog. The Coordinates of the location are also displayed in the Selection dialog box.
Pre-requisites
- Simply turn on the visibility of all the data types on the map.
To view details of overlapped data types, do the following:
- Locate overlapped data types on the map and click it.
The Selection dialog box is displayed.
- In the Selection dialog box, do the following:
-
View tabs for each available data type (RFIs, Targets, Reports, Layers).
-
Switch between tabs to see the details of each data point.
-
Choose wich item to explore further.